How To Propagate a Rabbits Foot Fern
I have a Rabbit’s Foot Fern that is over ten years old. Its Botanical name is Davallia fejeensis fern. It is a tough fern despite its delicate looking fronds. It has survived 3 major moves in ten years. It spends most of its time living on my lanai and with regular watering it has grown from a few fronds rising from a couple of small fuzzy rhizomes to a lovely plant with over a dozen rhizomes dangling from its too small pot. Today I will take you through the steps of propagating a Rabbits Foot Fern.

Each Step Of Propagating a Rabbit’s Foot Fern
- Add an inch of gravel to the bottom of the new pot. Then add potting mix until it is a couple of inches from the top of the new pot.
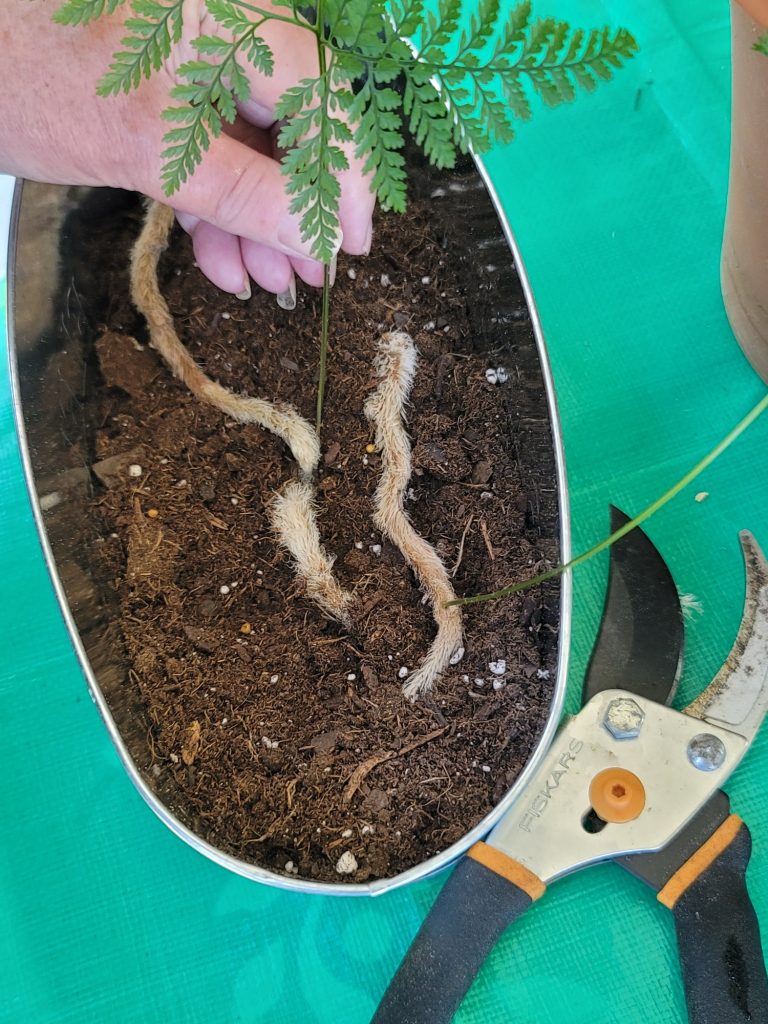
- Take a minute to really look at the fern rhizomes dangling over your pot. Look for the longest ones make sure that they are plump. The healthier the fern rhizome the greater your chance for success.
- Using your pruning shears or exacto knife to take 3- or 4-inch cuttings with 1 or 2 fronds attached to them.
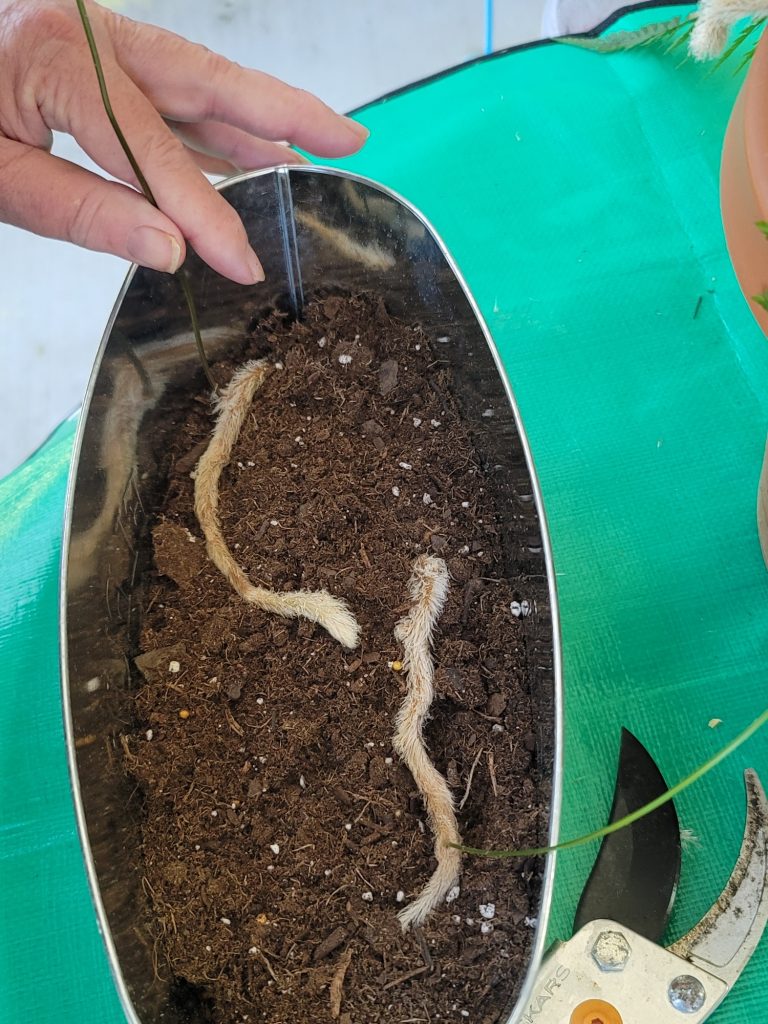
- Lay the fern rhizome on to the top of the potting mix and hold in place with small wire U shaped pins. I make my from jewelry wire but you can find them at hardware stores or garden centers.
- Gently water the new planter until the soil is damp but not soggy. Place new fern cuttings in bright indirect light.
Why is the Ferns Rhizome Important?
The rhizomes actually absorb moisture and nutrients to help your fern grow. It can take several weeks for your fern to start showing any new growth. Patience is the name of the game. Keep your fern cuttings in bright indirect lighting and the soil damp. It may take a while for your Rabbit’s Foot Fern to root but it is definitely worth it.